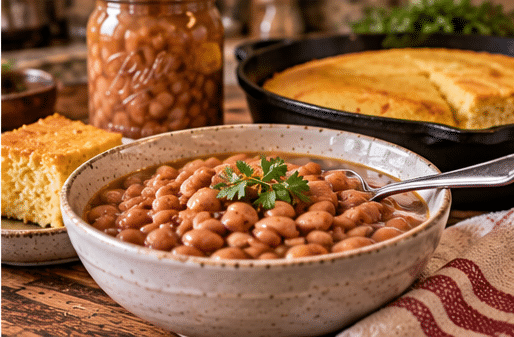
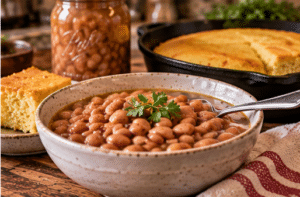
This simple recipe is the true work horse of my pantry. From side dish to complete meal these are the beans you will reach for again and again.
I have canned other beans with more seasoning for paticular uses, like chili or itailian flavors for soups and stews, but these are the beans I use several times a weeks. This is also a great recipe for beginners recipe starting out with a pressure canner.Be sure to read entire recipe and the notes below before you start.
Homemade Canned Pinto Beans

If I could recommend one inexpensive convenience food to keep in a homestead pantry, **plain pinto beans would be near the top of the list**.
We're keeping these simple on purpose.
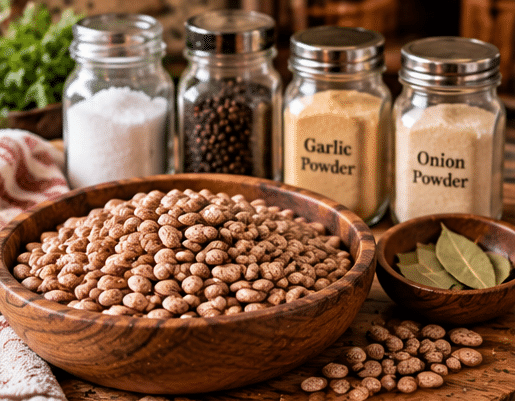
A little salt, black pepper, garlic powder, onion powder and a bay leaf give the beans enough flavor to taste good straight from the jar without committing them to any particular recipe.
Open a pint for supper, and you can take it in almost any direction.
Equipment
- 9 pint jars
Ingredients
- - 3¼ pounds dried pinto beans
- - Water for soaking and cooking
For Each Pint Jar
- 1/2 tsp teaspoon canning or pickling salt
- 1/4 tsp teaspoon garlic powder
- 1/4 tsp teaspoon onion powder
- - Black pepper to taste
- 1 small bay leaf
Instructions
- Sort and Wash the Beans
- Sort through the dried pinto beans and remove any stones, damaged beans or debris.
- Rinse the beans thoroughly.
- Soak the Beans
- Overnight Method
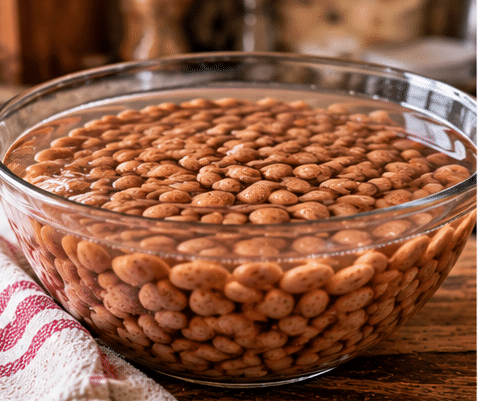
- Place the beans in a large stockpot and cover generously with water.
- Allow them to soak in a cool place for **12–18 hours**.
- Drain and discard the soaking water.
- ### Quick-Soak Method
- If you forgot to soak your beans the night before—and I certainly understand that—there's a faster option.
- Cover the washed beans with boiling water.
- Boil for **2 minutes**.
- Remove the pot from the heat, cover and allow the beans to soak for **1 hour**.
- Drain and discard the soaking water.
- ## Partially Cook the Beans
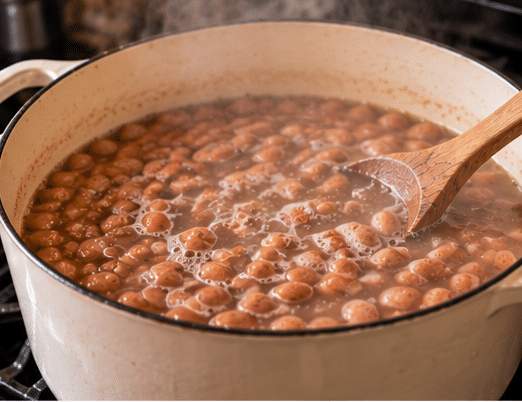
- Cover the soaked and drained beans with **fresh water**.
- Bring them to a boil and boil for **30 minutes**.
- We're not trying to completely cook the beans until they're soft. They still have 75 minutes in the pressure canner ahead of them.
- ## Season the Jars
- Into each hot pint jar, add:
- - ½ teaspoon salt
- - ¼ teaspoon garlic powder
- - ¼ teaspoon onion powder
- - A small amount of black pepper
- - 1 small bay leaf
- The salt is optional from a canning-safety standpoint, so you can reduce or omit it if desired.
- ## Fill the Jars
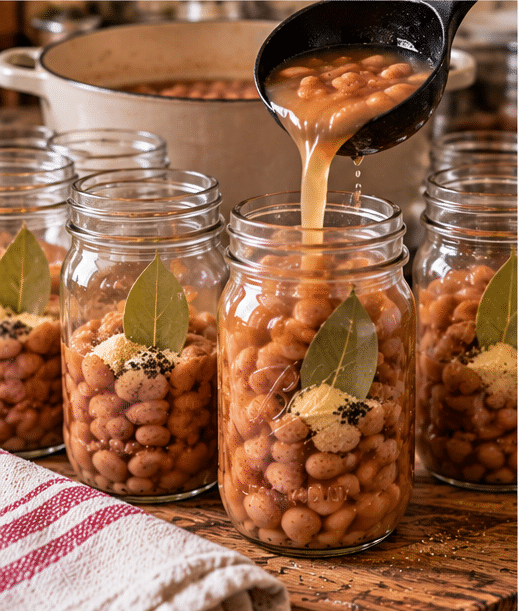
- Using a slotted spoon, fill each hot pint jar with hot pinto beans.
- Don't mash or tightly pack them into the jar.
- Ladle the **hot bean cooking liquid** over the beans, leaving **1 inch of headspace**.
- Run a debubbling tool around the inside of each jar.
- Check the headspace again and add additional hot cooking liquid if necessary.
- Wipe the rims clean and apply the lids and rings according to the lid manufacturer's directions.
- ## Pressure Can the Pinto Beans
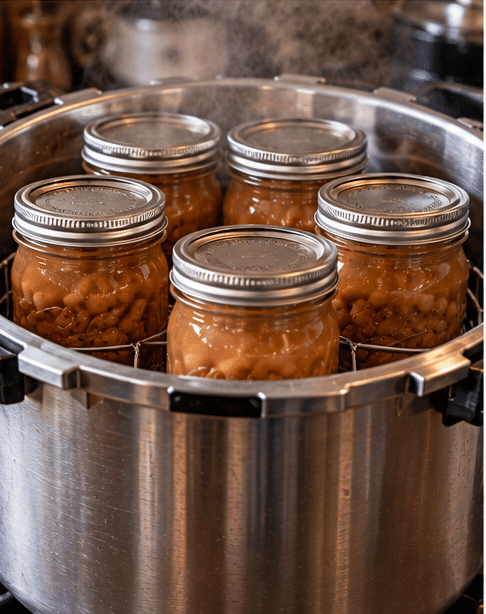
- Pinto beans are a low-acid food and must be processed in a **pressure canner**.
- For pint jars, process for:
- **75 minutes**
Notes
• Dial-Gauge Pressure Canner
- 0–2,000 feet: **11 pounds**
- 2,001–4,000 feet: **12 pounds**
- 4,001–6,000 feet: **13 pounds**
- 6,001–8,000 feet: **14 pounds** • Weighted-Gauge Pressure Canner - 0–1,000 feet: **10 pounds**
- Above 1,000 feet: **15 pounds** Always use the pressure appropriate for your altitude and type of pressure canner. Follow your pressure canner's operating instructions, including properly venting the canner before bringing it to pressure. • Why We Don't Put Dry Beans Straight Into the Jars You'll sometimes see home-canning methods that put measured amounts of completely dry beans directly into jars. That's **not the USDA-tested method we're using for this recipe**. Dry beans expand dramatically as they hydrate. The tested NCHFP procedure hydrates them before they go into the jars so the amount of beans, water and headspace during processing behaves as expected. For this Coffee Homestead recipe, we're sticking with the tested hydrated-bean method. ## Why Keep the Seasoning Simple? Because these aren't supposed to be one particular kind of beans. They're an **ingredient waiting for dinner**. The garlic, onion, bay leaf, pepper and little bit of salt give them a good background flavor without preventing us from turning them into something completely different later. • One Pint, Lots of Suppers Open a jar and turn these beans into: - Beans with cornbread
- Refried beans
- Bean and cheese burritos
- Tacos
- Taco salad
- Chili
- Cowboy beans
- Pinto bean soup
- Beans and rice
- Nachos
- Southwestern casseroles
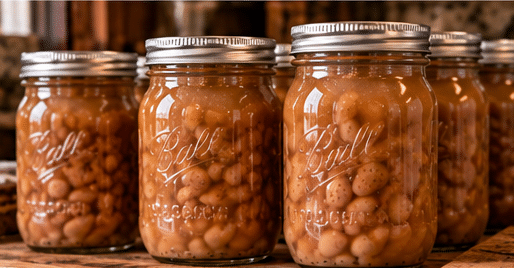
- A quick side for grilled meat For refried beans, drain off some—but not necessarily all—of that flavorful liquid, mash the beans in a skillet and add whatever seasonings and fat you like. For soup or chili, dump in the whole jar. • Convenience Food From the Homestead Pantry This is exactly what I mean when I talk about building a **working pantry**. Not every jar needs to be a complicated finished recipe. Sometimes the most useful thing we can preserve is a simple ingredient that's already cooked and waiting for us. A bag of inexpensive dried beans becomes a shelf full of pint jars. And on a busy night, instead of soaking beans and waiting hours for them to cook, we open a jar. **That's homemade convenience food.**
- 2,001–4,000 feet: **12 pounds**
- 4,001–6,000 feet: **13 pounds**
- 6,001–8,000 feet: **14 pounds** • Weighted-Gauge Pressure Canner - 0–1,000 feet: **10 pounds**
- Above 1,000 feet: **15 pounds** Always use the pressure appropriate for your altitude and type of pressure canner. Follow your pressure canner's operating instructions, including properly venting the canner before bringing it to pressure. • Why We Don't Put Dry Beans Straight Into the Jars You'll sometimes see home-canning methods that put measured amounts of completely dry beans directly into jars. That's **not the USDA-tested method we're using for this recipe**. Dry beans expand dramatically as they hydrate. The tested NCHFP procedure hydrates them before they go into the jars so the amount of beans, water and headspace during processing behaves as expected. For this Coffee Homestead recipe, we're sticking with the tested hydrated-bean method. ## Why Keep the Seasoning Simple? Because these aren't supposed to be one particular kind of beans. They're an **ingredient waiting for dinner**. The garlic, onion, bay leaf, pepper and little bit of salt give them a good background flavor without preventing us from turning them into something completely different later. • One Pint, Lots of Suppers Open a jar and turn these beans into: - Beans with cornbread
- Refried beans
- Bean and cheese burritos
- Tacos
- Taco salad
- Chili
- Cowboy beans
- Pinto bean soup
- Beans and rice
- Nachos
- Southwestern casseroles
- A quick side for grilled meat For refried beans, drain off some—but not necessarily all—of that flavorful liquid, mash the beans in a skillet and add whatever seasonings and fat you like. For soup or chili, dump in the whole jar. • Convenience Food From the Homestead Pantry This is exactly what I mean when I talk about building a **working pantry**. Not every jar needs to be a complicated finished recipe. Sometimes the most useful thing we can preserve is a simple ingredient that's already cooked and waiting for us. A bag of inexpensive dried beans becomes a shelf full of pint jars. And on a busy night, instead of soaking beans and waiting hours for them to cook, we open a jar. **That's homemade convenience food.**


Recent Comments